Build
Les imatges es construeixen a partir d'altres imatges afegint noves capes.
Introducció
Un Dockerfile és un fitxer de text que té instruccions de com construir una imatge.
Servidor python
FROM
Crea un fitxer amb el nom de Dockerfile amb aquest contingut:
FROM alpine:latestLa primera línia del fiter sempre ha de ser la imatge que utilitzem com a punt de partida, en el nostre cas una alpinex[https://hub.docker.com/_/alpine]
Ja pots construir una imatge utilitzant aquest fitxer de text:
Pots veure que ara tenim dues imatges, una alpine i una server amb el mateix IMAGE ID:
La nostra imatge server és la mateixa que l’alpine i la pots utilitzar igual que faries servir una imatge alpine.
NAME="Alpine Linux"
ID=alpine
VERSION_ID=3.20.0
RUN
A continuació el que has de fer es crear una sessió interactiva amb un contenidor server per explorar quines ordres has d’utilitzar per crear un servidor python, i un cop tingues clar quines ordres has d’utilitzar les escrius al Dockerfile.
Doncs per començar python no està instal·lat per defecte a diferència de la majoria dels sistemes operatius Linux.
Les imatges alpine són les més lleugeres i es fan servir per crear imatges noves perquè noves porten el just i necessari per funcionar.
Doncs, instal·lem Python amb apk:
&&
A continuació ja pots modificar el fitxer Dockerfile:
FROM alpine:latest
RUN apk update && apk add python3
Amb RUN índiques un ordre que s’ha d’executar de la mateixa manera que abans ho hem fet manualment.
Torna a construir la imatge:
&&
())
())
Aquest cop la construcció es fa en dos passos, lStep 1/2 i lStep 2/2.
Mira que ha passat amb les imatges:
Pots veure que el IMAGE ID és diferent i que la nostra imatge s’ha engreixat una mica.
I que la nostra imatge server porta els fitxers python i podem executar python3:
La lògica a seguir per construïr un fitxer Dockerfile és anar pas a pas (o step a step)
- Crear una nova imatge
- Arrencar una sessió interactiva a partir de la nova imatge i fer les proves pertinents
- Crear un nou pas o
Step.
Per tant, el pròxim pas és arrencar un servidor python:
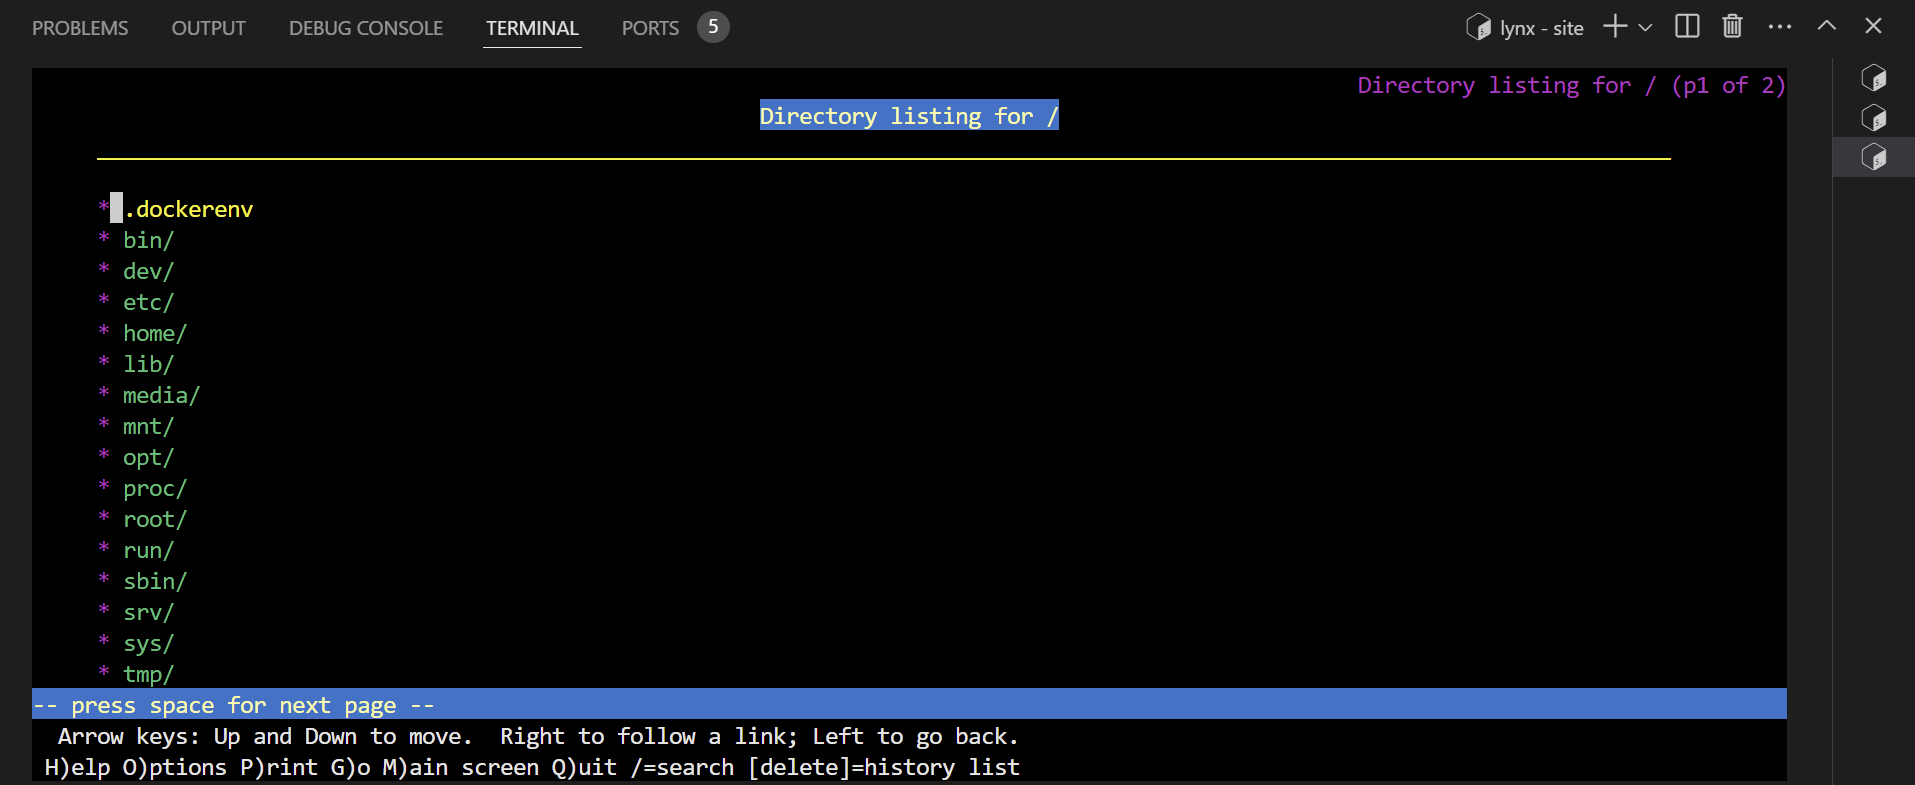
) Obre un altre terminal i verifica que el servidor web està funcionant:
Pots veure que és un servidor bàsic que et permet navegar pel sistema de fitxers:
ENTRYPOINT
Surt del contenidor i verifica una cosa molt interessant.
Quan arrenques un servidor apache aquest per defecte executa un servidor apache:
<html><body><h1>It
Però quan arrenques un servidor server no passa res:
) El contenidor s’ha parat i eliminat:
Has d’afegir un ENTRYPOINT, una ordre que s’executa per defecte quan s’arrenca un contenidor:
FROM alpine:latest
RUN apk update && apk add python3
ENTRYPOINT python3 -m http.server
Crear una nova imatge i arrenca un contenidor:
El servidor està funcionant!
El procés 1 és l’ordre python3 -m http.server:
Llavors la imatge httpd ha de tenir un entrypoint!
Vejam quina:
Doncs no en té 🤔! I la teva?
Doncs sí.
Vejam què passa amb httpd 🧐
&&
Llavors com és que funciona sense un ENTRYPOINT?
Si mires el DockerFile de httpd:2.4 pots veure que al final no hi ha un ENTRYPOINT sinó un CMD ["httpd-foreground"].
cache
Però abans de continuar, t’has adonat que les imatges es construeixen més de pressa que al principi?
Torna a construir la imatge sense modificar el fitxer Dockerfile i pots veure que es fa en un moment:
&&
Pots veure que en cada steps’indica que s’està utilitzant la cache ---> Using cache.
Aquestes caches són imatges, però on estan?
En lloc de buscar a Google o ChatGPT li pots preguntar directament a docker:
)
Per defecte docker images no mostra les imatges intermitges, però amb l’opció -a t’ensenya totes:
<none> <none> 713
Ara podem veure la imatge 713e9ed4cc61 de l’step 2/3.
I ja de pas, no hi ha imatges alpine amb Python?
Doncs si, a Docker Hub les pots trobar, a més amb la versió de Python que tu vulguis: Docker Hub - Python.
També hi imatges alpine amb Apache: Docker Hub - httpd.
Llavors, perquè comencem amb una alpine enlloc d’una python:3-alpine per exemple?
Doncs perquè en aquesta activitat es tracta que aprenguis com funciona Dockerfile 😤!
CMD
Elimina tots els contenidors:
Si volem podem executar un contenidor httpd sense que s’executi apache 😱!
|
Però no podem fer el mateix amb server:
A saber que està fent 🤨!
Obre un altre terminal i mira que està fent:
Doncs ha executat python3 -m http.server i passa del que li has dit que havia de fer com pots verificar en enviar un senyal d’interrupció, o sigui, Ctrl+c.
)
Quan executem un contenidor podem sobreescriure CMD escrivint les ordres que volem al final de tot de docker run com hem fet amb httpd.
Com que la imatge httpd no defineix un ENTRYPOINT, per defecte l’ENTRYPOINT és /bin/sh -c.
I com que el CMD és:
El que s’està executant per defecte és /bin/sh -c httpd-foreground, llevat que indiquis un CMD diferent de l’executar docker run.
Si volem també podem forçar a server a fer el que volem amb l’opció --entrypoint:
Com has vist fins ara ENTRYPOINT i CMD estan pensats per utilitzar-los de manera conjunta, altre cosa es que després s’utilitzen com volen i els noms no ajuden gaire a saber exactament perqué serveixen.
En principi … 😂:
ENTRYPOINT. És el que sempre s’executarà.CMDés el que l’usuari de la imatge pot parametritzar.
Pots veure que la imatge httpd i moltes altres que has fet servir fins ara, això com que se la bufa 🙄.
La nostra imatge server està ben dissenyada, és un servidor python que es pot parametritzar.
Per exemple pots dir que s’executi al port 80 en lloc del 8000:
)
Però no funciona … Si vols pots buscar a ChatGPT o similar … O seguir llegint 👍.
El problema és que l’ENTRYPOINT l’hem escrit en la forma “shell command” en lloc de la forma “executable command” (més endavant explicarem la diferència).
Modifica el fitxer Dockerfile:
FROM alpine:latest
RUN apk update && apk add python3
ENTRYPOINT ["python3", "-m", "http.server"]
I ara sí que funciona, pots veure que el servidor escolta al port 80 en lloc del 8000:
)
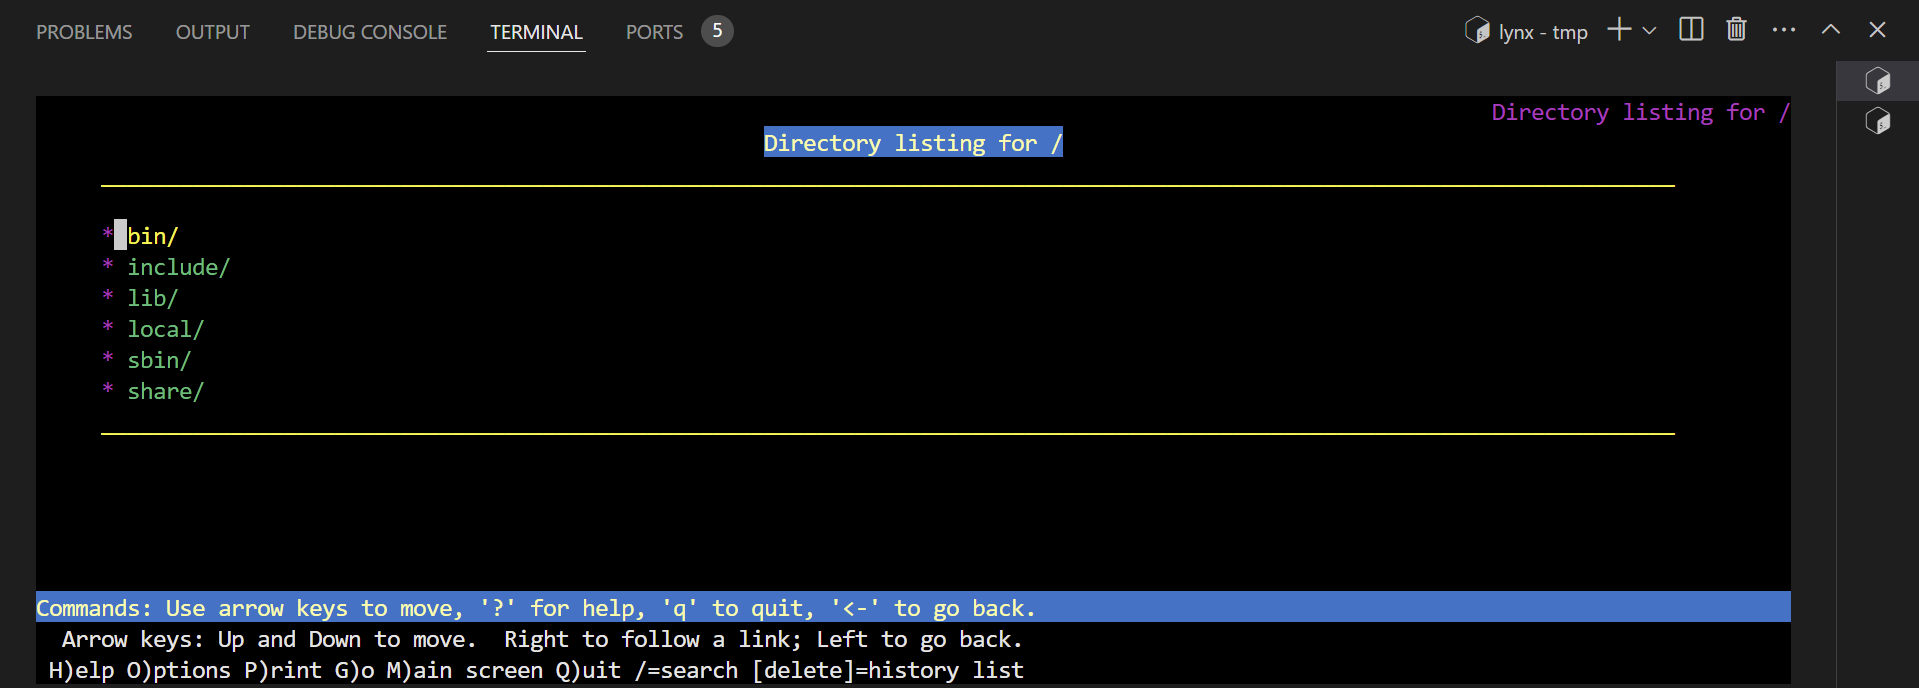
També pots canviar el directori arrel del servidor amb el flag -d:
Des d’un altre terminal pots verificar amb lynx que el servidor només mostar el contingut del directori /usr del contenidor:
I per acabar la lliçó respecte CMD, ¿Com podem utilitzar CMD per millorar la imatge server?
¿Que et sembla que per defecte escolti al port 80 en lloc del 8000?
FROM alpine:latest
RUN apk update && apk add python3
ENTRYPOINT ["python3", "-m", "http.server"]
CMD ["80"]
Prova que per defecte funciona al port 80:
I que com abans podem canviar el port:
)
O la interfície a la qual està escoltant:
)
Activitat
Crea un fitxer Dockerfile.nmap a partir de la imatge alpine que per defecte faci un nmap a localhost i que es pugui parametritzar amb opcions tal com es mostra a continuació.
)
)
Pots veure que fer defecte docker build utilitza el fitxer Dockerfile, però que podem modificar aquest fitxer amb l’opció --file.
Show solution
FROM alpine:latest
RUN apk update && apk add nmap
ENTRYPOINT ["nmap"]
CMD ["localhost"]Shell vs Command
Tots els tipus d’instruccions (ordres) que es passen al Docker Daemon es poden especificar en forma shell o exec.
Un conjunt d’instruccions en format shell inicien un procés que s’executa dins d’un shell: /bin/sh -c <command>
Per tant, té accés a les variables d’entorn.
El format que s’utilitza és:
<instruction> <command>
Crea un fitxer Dockerfile.shell:
FROM alpine:latest
ENV name Jordi
ENTRYPOINT /bin/echo "Welcome, $name"
Crea una nova imatge i executa un contenidor:
Si no has de processar variables d’entorn és millor utilitzar el format exec que no utilitza un shell i evites el procés de validació i processament del shell.
També és necessari quan vols utilitzar a la vegada l’ENTRYPOINT i CMD tal com hem vist abans.
El format que s’utilitza és:
<instruction> ["executable", "parameter1", "parameter2", ...]
Crea un fitxer Dockerfile.exec:
FROM alpine:latest
ENV name Jordi
ENTRYPOINT ["/bin/echo", "Welcome, $name" ]
Crea una nova imatge i executa un contenidor:
Pots veure que aquest cop la variable d’entorn name no es processa.
Però això vol dir que no podem executar un procés mitjançant el shell amb la forma exec?
Un si, o un no, no és una resposta vàlida 😤!
Això és una resposta:
FROM alpine:latest
ENV name Jordi
ENTRYPOINT ["/bin/sh", "-c", "echo Welcome, $name" ]
I 👍 …